This summer camp season, our theme was Art Through the Decades. During our 1970s inspired camp, we learned about the land art movement and looked at iconic works by Robert Smithson, Nancy Holt, and the more recent (and smaller scale) works of Andy Goldsworthy. We took these artists' lead, and created ephemeral, nature-based works of our own. Instead of glueing anything down, the students documented their work with photographs and took the printed images home as artifacts of their experience. It was one of the most pleasurable lessons to teach (no mess!) and the kids relished the connection to nature and the freedom of process over product. This project could be modified for any age group, pre-K through 12th grade.
Objectives:
Students will look at examples of land art and discuss composition, the use of natural materials, the choice to make impermanent artwork, and the tradition of artwork outside of the gallery/art museum.
Students will have the opportunity to gather at least some of their own materials outside- leaves, sticks, rocks, etc.
Students will make multiple compositions, both abstract and figurative, with their materials, documenting each one by taking a photograph.
Students will reflect on their art-making process.
Materials:
- piece of large background paper (we used 18 x 24 black construction paper)
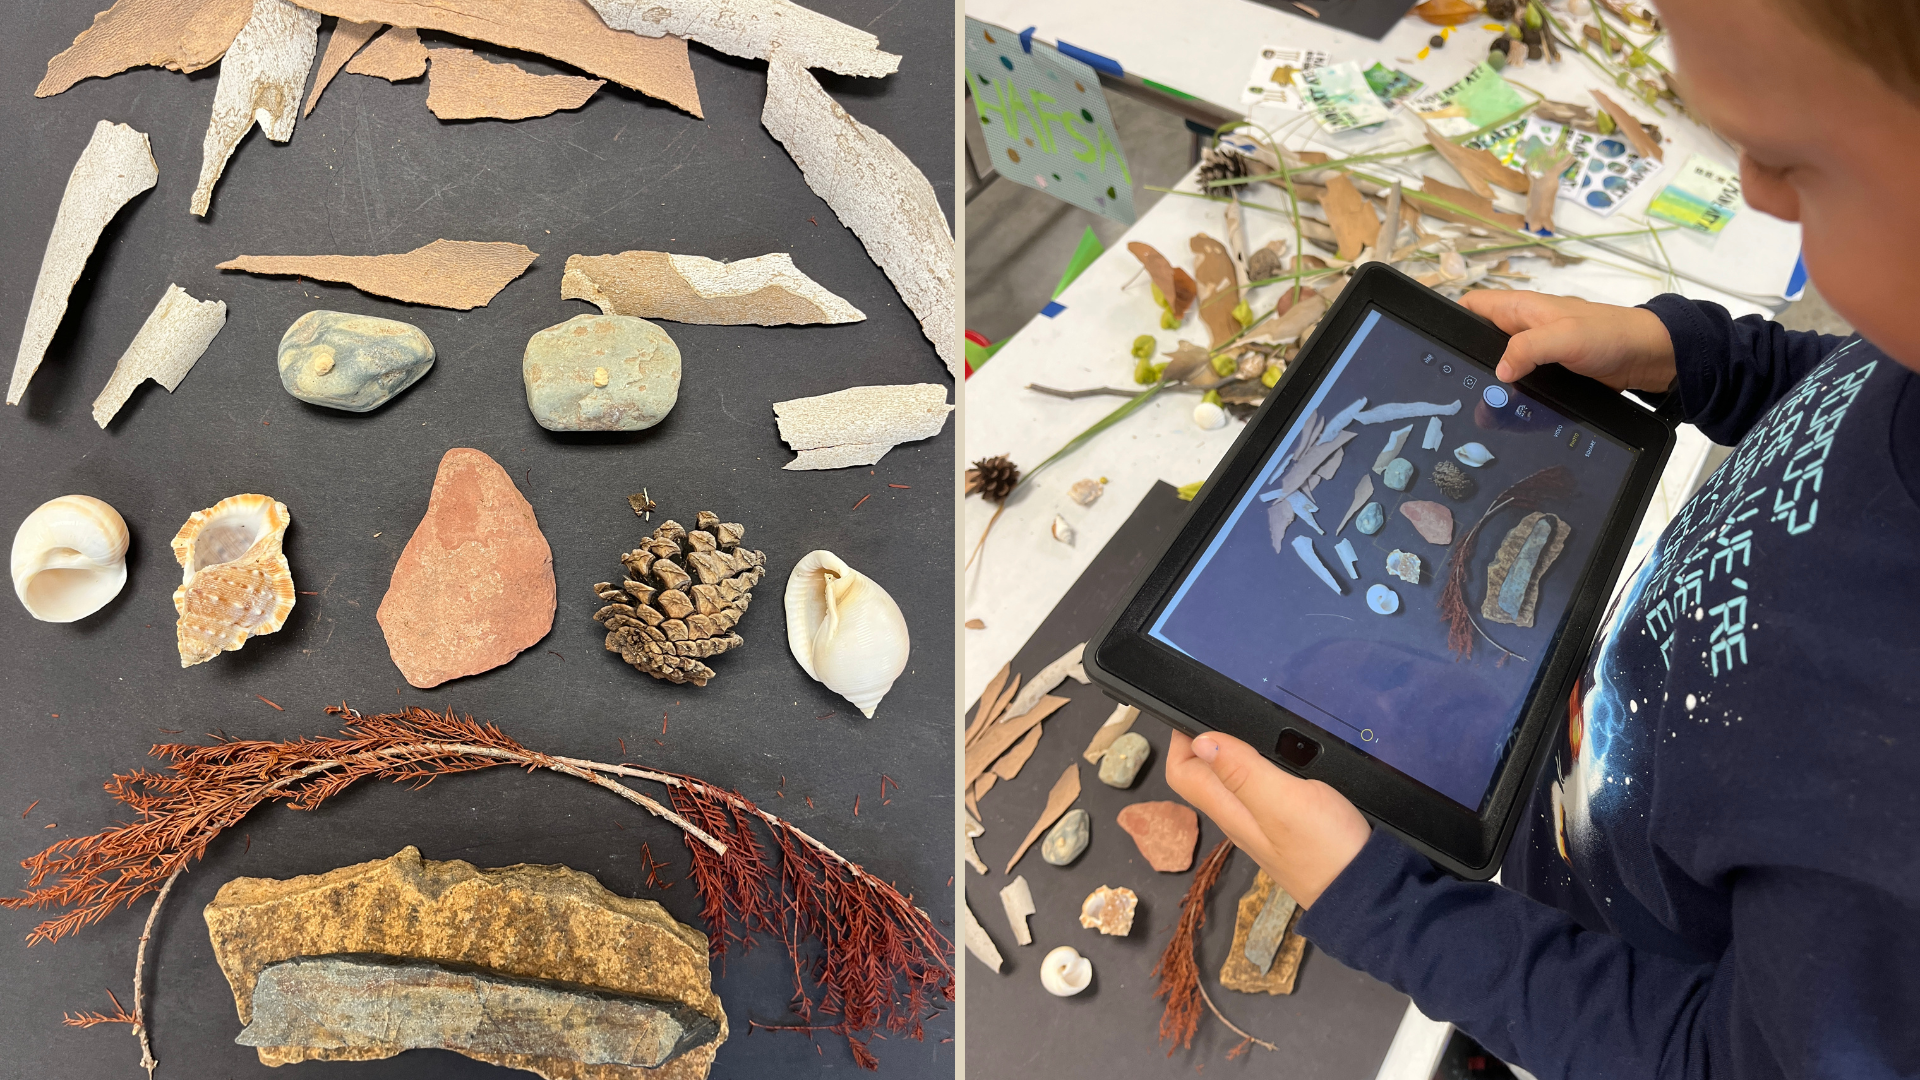
- gathered materials from nature collected by students and/or teacher: shells, rocks, grass, leaves, sticks, seed pods, etc)
- painters' tape
- digital camera (phone, tablet, or camera)
Steps:
1. Look closely at an example of land art together and ask students what they notice. When they give an answer, use the follow up question "What makes you say that?" to encourage even deeper observations. Some things to discuss include: composition, the artist's choice to create an artwork outside and with natural materials, the effects of weather on the work and its inevitable destruction, feelings elicited by the work, etc.).
2. Tell students that they will be making their own land art works out of gathered materials. If you've brought your own supply of materials to supplement theirs, show them what you have. We provided sea shells, some flowers, tall grasses, and seed pods.
3. Provide them with a bag or basket for collecting. Go outside and allow them to "shop" the grounds. We made the rule that they were only to take things from the ground, not pluck parts off of living plants.
4. Give each student a large piece of background paper and assist them (if necessary) with taping the edges down to the table or floor.
5. Allow for total creative freedom as they create their compositions on the background paper. Undoubtedly, they will begin to share ideas with one another and trade materials. If the students are very young, you may want to help them to remember to take a photograph of each completed composition.
6. Have each student choose their favorite one, two, or three photographs and print them off. Once they have their images, have them share and reflect on the experience.
Resources:
The students really enjoyed this wordless, 14 minute film that documents Richard Shilling's work. It's set to music and is very peaceful.
Transcience: Richard Shilling's Nature Art
https://www.youtube.com/watch?v=0O3d4n3_FuU
They enjoyed this one, also wordless, about Robert Smithson's iconic work Spiral Jetty.
Spiral Jetty, Robert Smithson, 1970, a film for Utah State Magazine
https://www.youtube.com/watch?v=0O3d4n3_FuU
They enjoyed this one, also wordless, about Robert Smithson's iconic work Spiral Jetty.
Spiral Jetty, Robert Smithson, 1970, a film for Utah State Magazine
https://www.youtube.com/watch?v=v-N3vbH52bQ
This video is a more comprehensive look at the Land Art Movement. Best for older students.
The Land Art Movement, by Marlie Stiles
https://www.youtube.com/watch?v=eViKUEFe9lA
This video is a more comprehensive look at the Land Art Movement. Best for older students.
The Land Art Movement, by Marlie Stiles
https://www.youtube.com/watch?v=eViKUEFe9lA