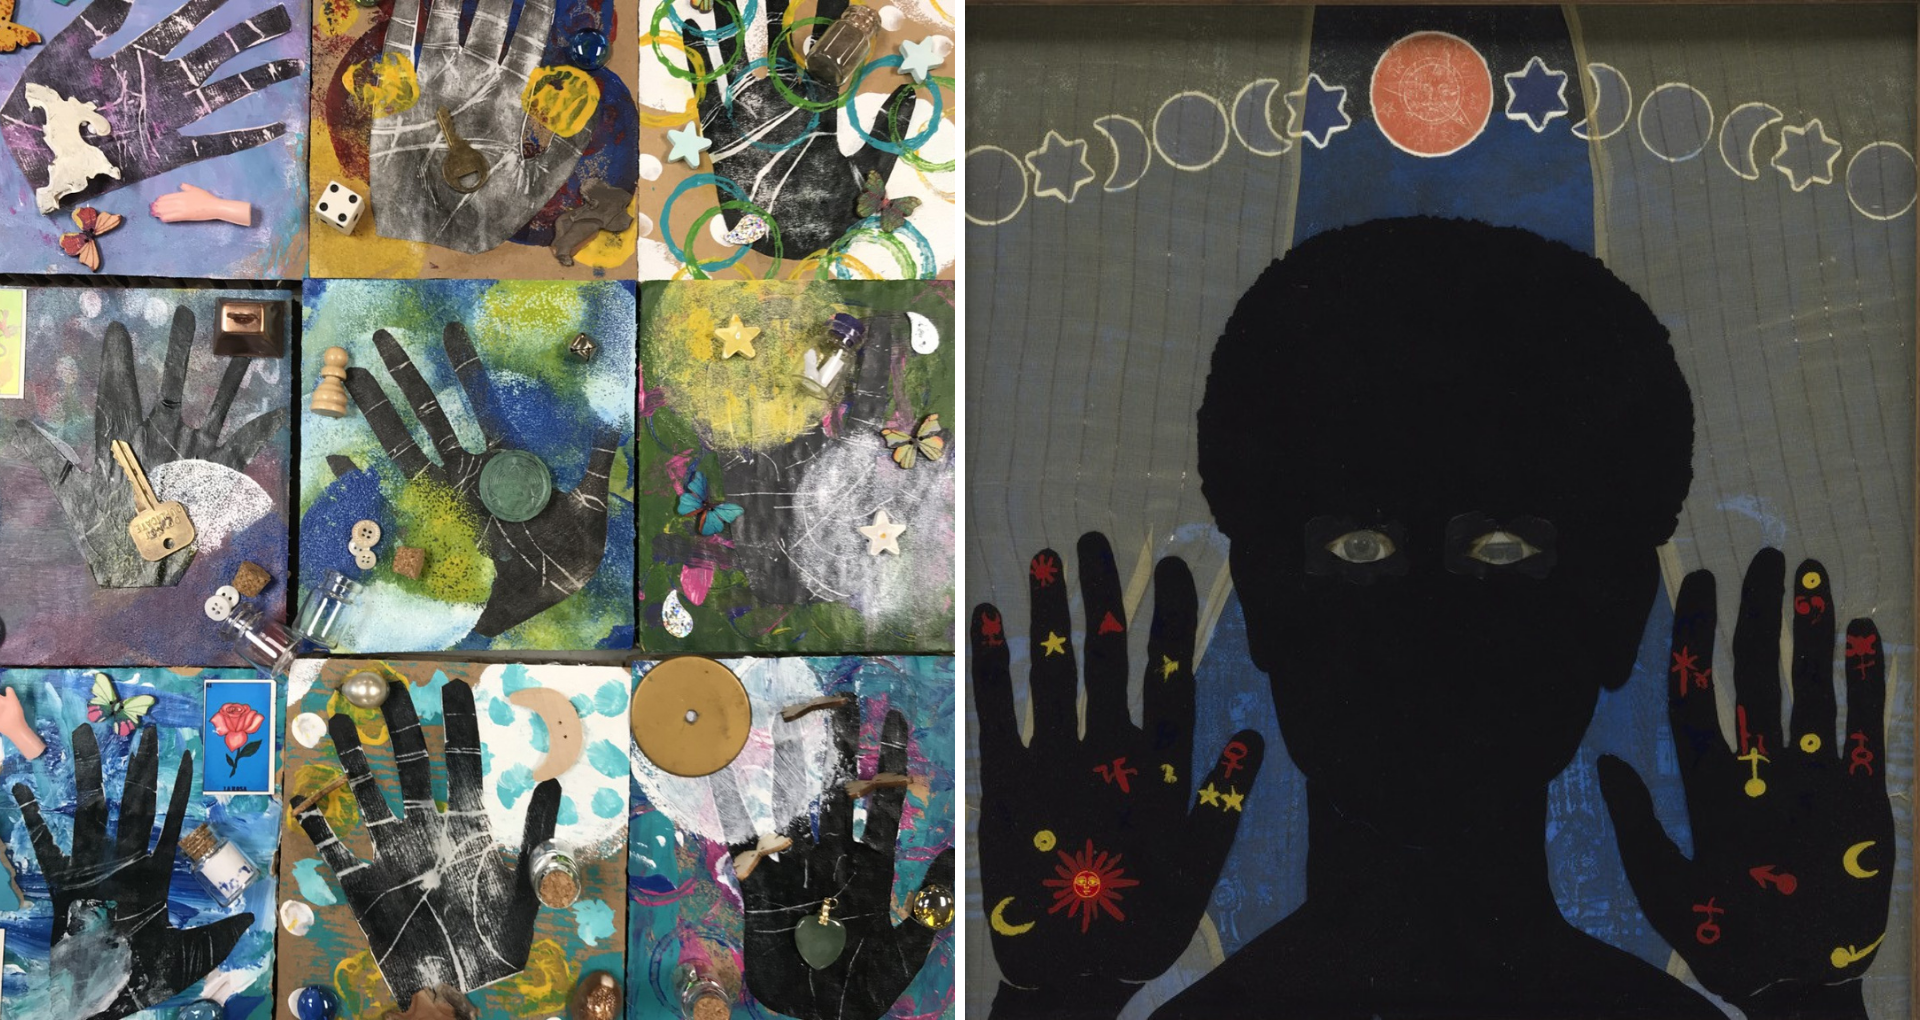
This project was hands down (pun intended) the students' favorite from our week long summer art camp inspired by the artwork of contemporary artist, Betye Saar. It is accessible for most students age 6 on up through high school. Saar, born in 1926 and still working today, is considered the grande dame of assemblage art. She also works in collage, printmaking, and watercolor. Her works address a wide variety of themes including spirituality, mysticism, time, personal history, ancestry, race, class, and gender. Her works are rich with symbols, both personal and collective, and they challenge us to find new meaning and possibility in old stories. This activity was inspired by Saar's depression era ethos of “use it up, make it do, go without," as well as her love of symbols and old objects. It is a three part process that took us several relaxed, fun-filled days to finish.
Objectives:
Students will consider the human hand as a symbol.
Students will learn about Betye Saar and look at two of her works closely, "The Palm of Love" and "Black Girl's Window."
Students will experiment with two types of collagraph printing- constructed and found object.
Students will be able to define assemblage.
Students will experience first hand the "hunting and gathering" and compositional elements of assemblage making.
Students will create a multi-layered mixed media artwork inspired by artist Betye Saar.
Materials:
- sticky back foam sheets
- chipboard or thin cardboard
- small canvases or pieces of thick cardboard (square or rectangle in the 7x7- 8x10 range)
- acrylic paints (for best results, limit the students' palettes to 3 colors)
- paintbrush
- black rubber stamp ink pad
- toothpicks
- scissors
- liquid glue or hot glue
- mod podge
- variety of objects for printing texture (toilet paper tubes, bubble wrap, sponges, corrugated cardboard sheets, etc.)
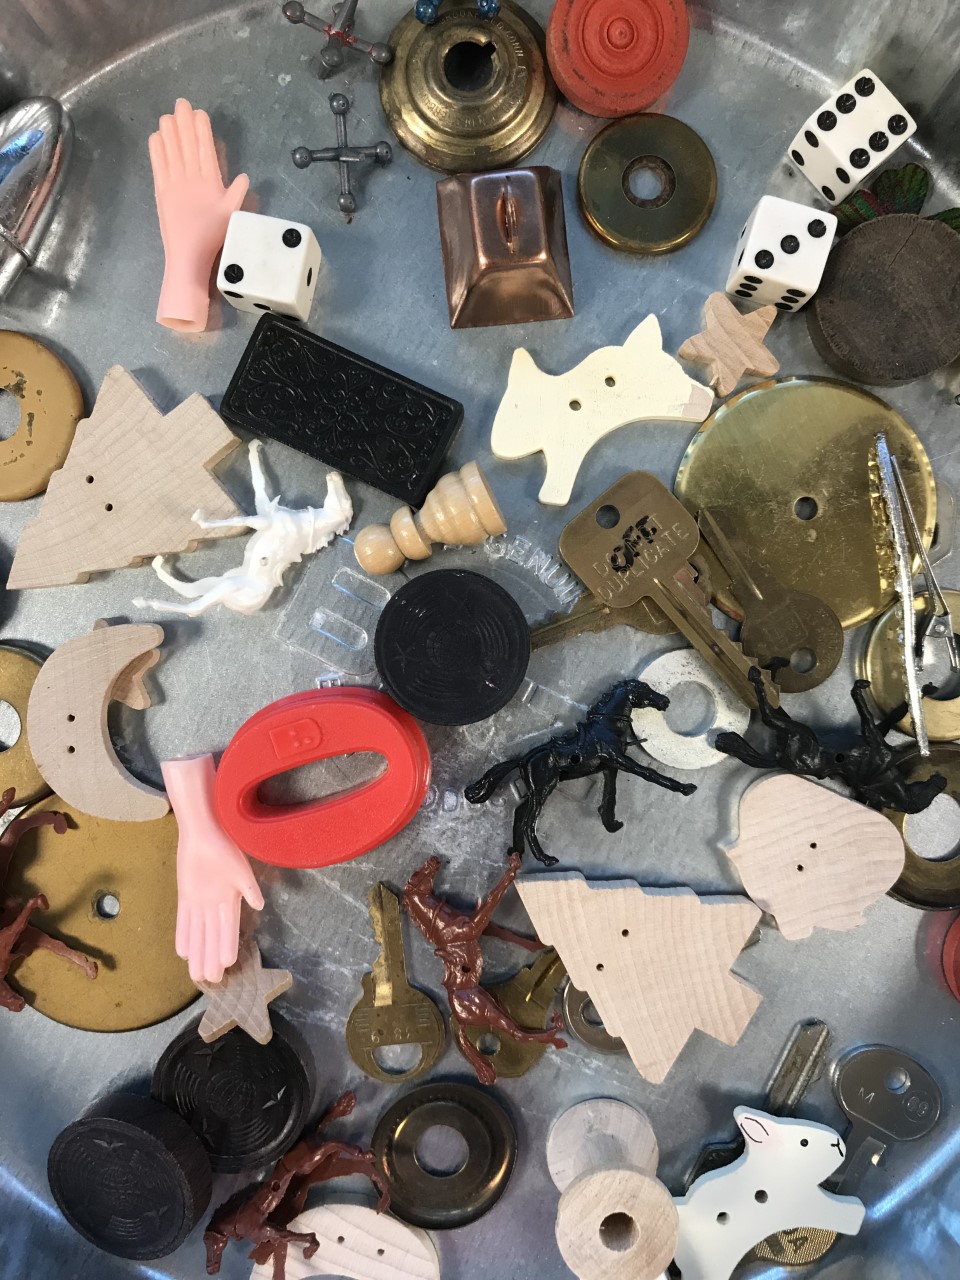
- variety of old knick knacks for assemblage (we used old chess and checkers pieces, dice, metal jacks, hardware pieces, buttons, shells, old jewelry bits and baubles, etc.)
Steps:
Look at and discuss Betye Saar's Palm of Love and Black Girl's Window
Look at and discuss Betye Saar's Palm of Love and Black Girl's Window
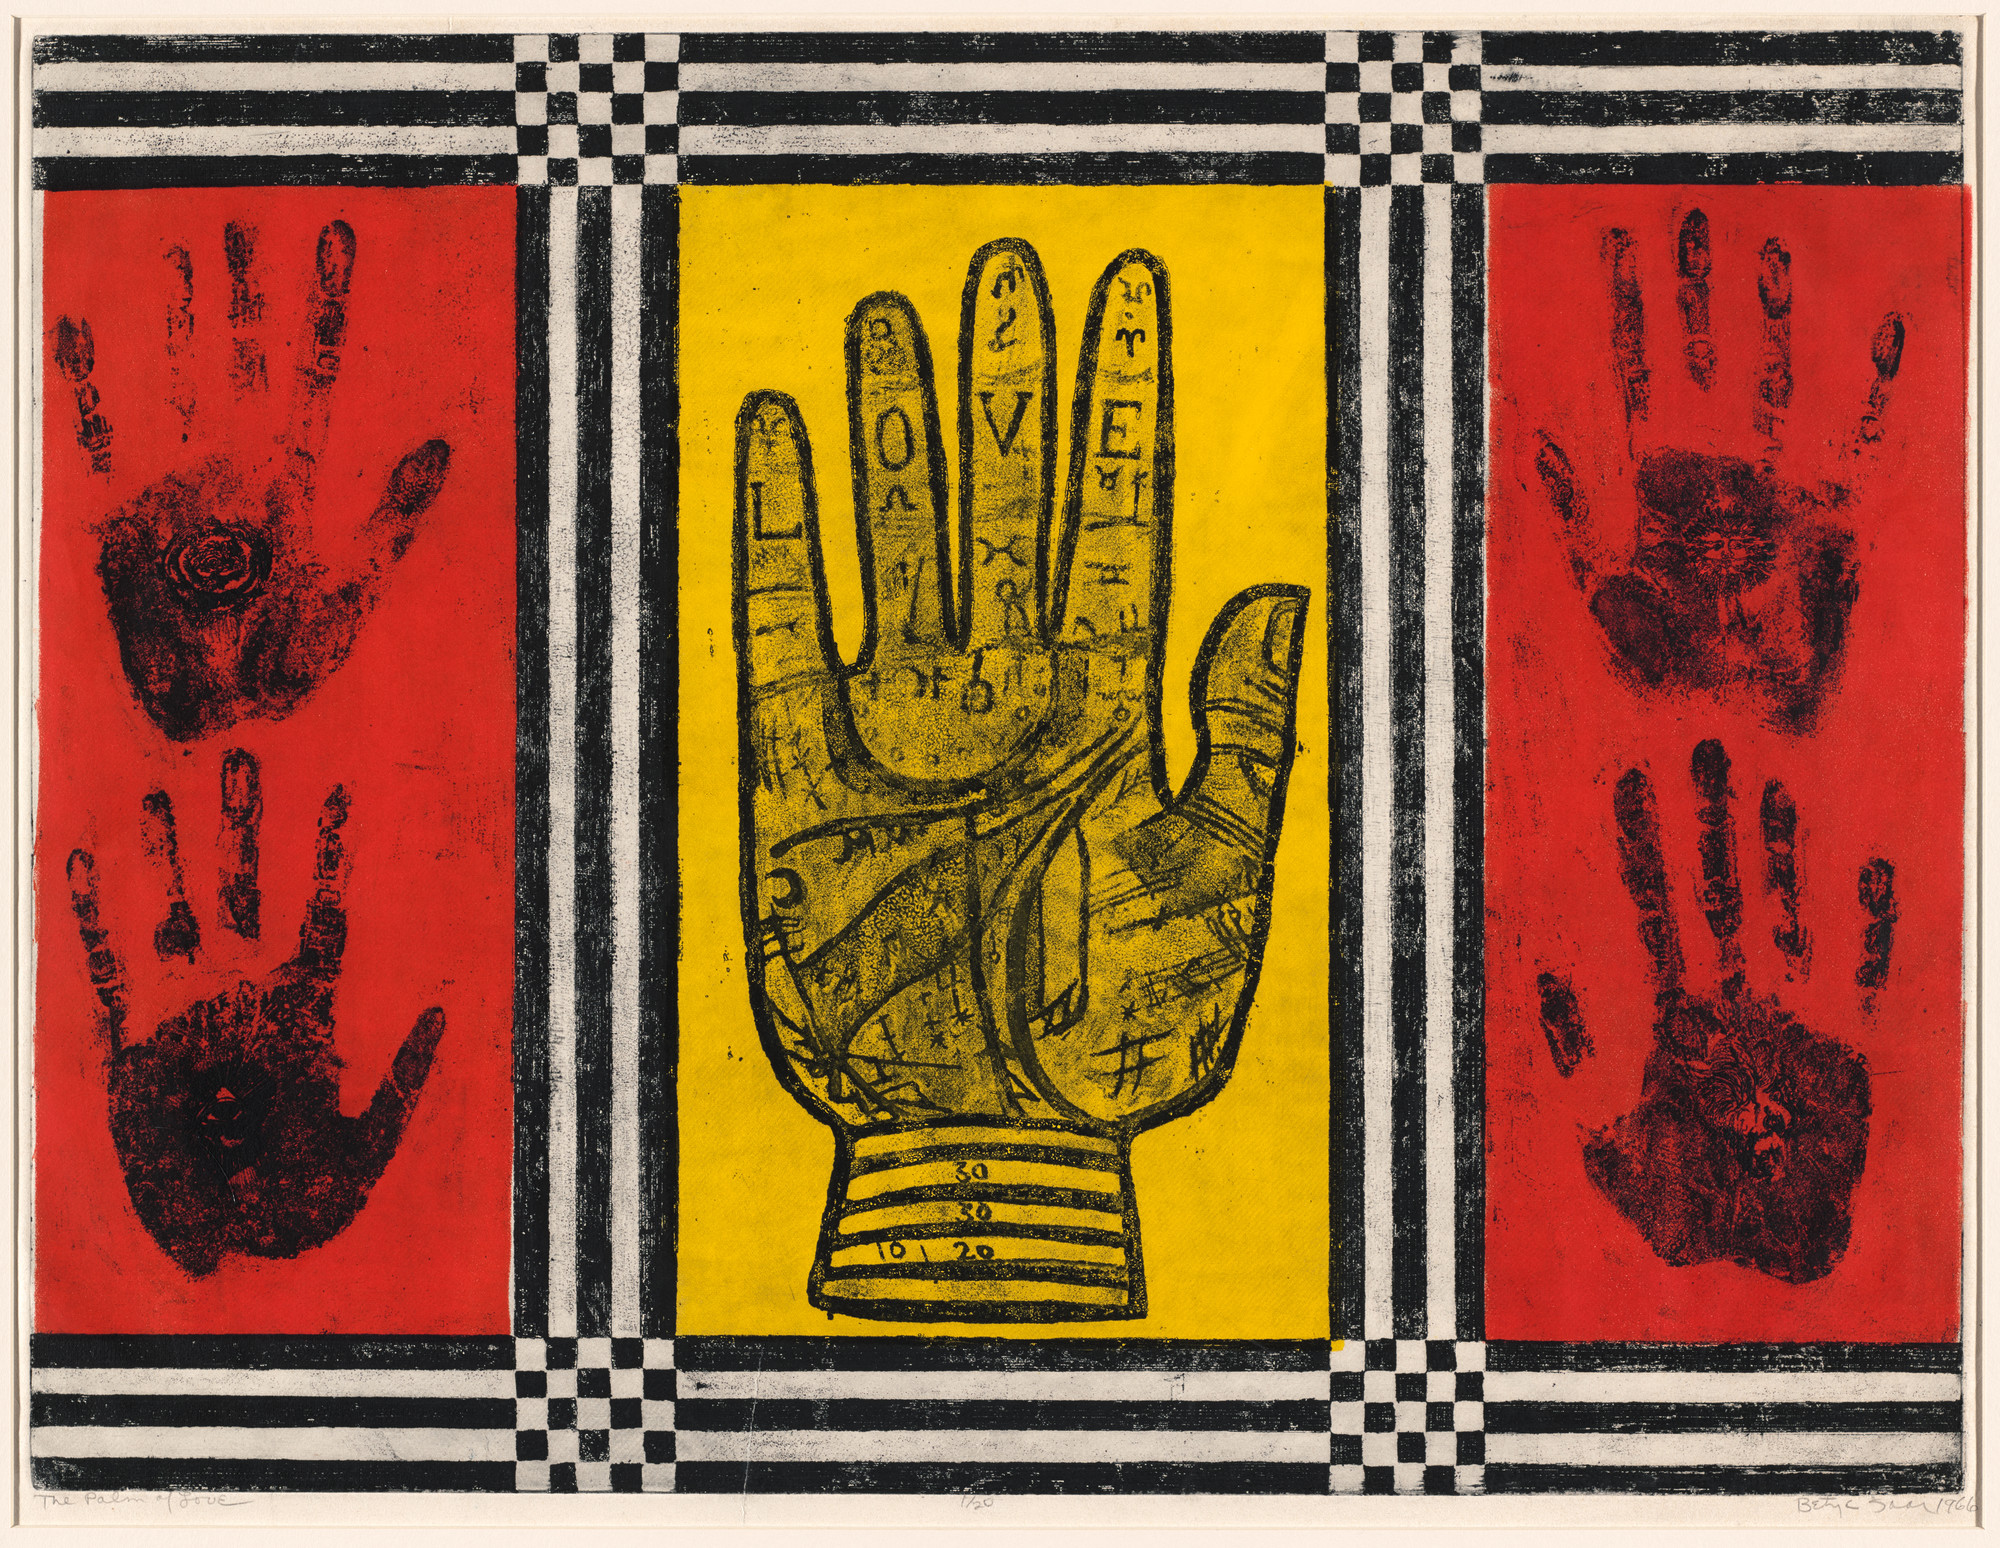
1. Begin with Palm of Love. As always, ask students open ended questions first. What do you notice? Allow the conversation to touch on subjects including content, medium, colors, speculation of meaning, etc.
2. Initiate a conversation about symbolic representation. What is a symbol? Why do we use them? Ask about the hand as a symbol. What do we do with our hands? Talk about the palm print as an ancient signature, pre-dating written language. Discuss the unique nature of our palm and finger prints. The hand, a collective symbol, is also a symbol of individual identity.
3. Look at Black Girl's Window next. What do they notice? What is similar and what is different compared to the Palm of Love? Discuss the additional symbols- moon, stars, sun, lion for Saar's astrology sign (Leo), etc.
4. Introduce the concept of assemblage. What is it? Black Girl's Window represents the beginning of Saar's exploration with three dimensional structures and the use of objects with histories of their own. What object is being used? Why?
Part One- Palm Collagraph Print
1. Have students trace their non-writing hand on the back of a piece of sticky back foam. For younger kids, you may want to have them practice and/or demonstrate for them how you hold the pencil straight up and down to trace.
2. Cut out the hand shape, peel the paper off the back, and adhere it to a rectangle piece of cardboard or chipboard that has been trimmed to size.
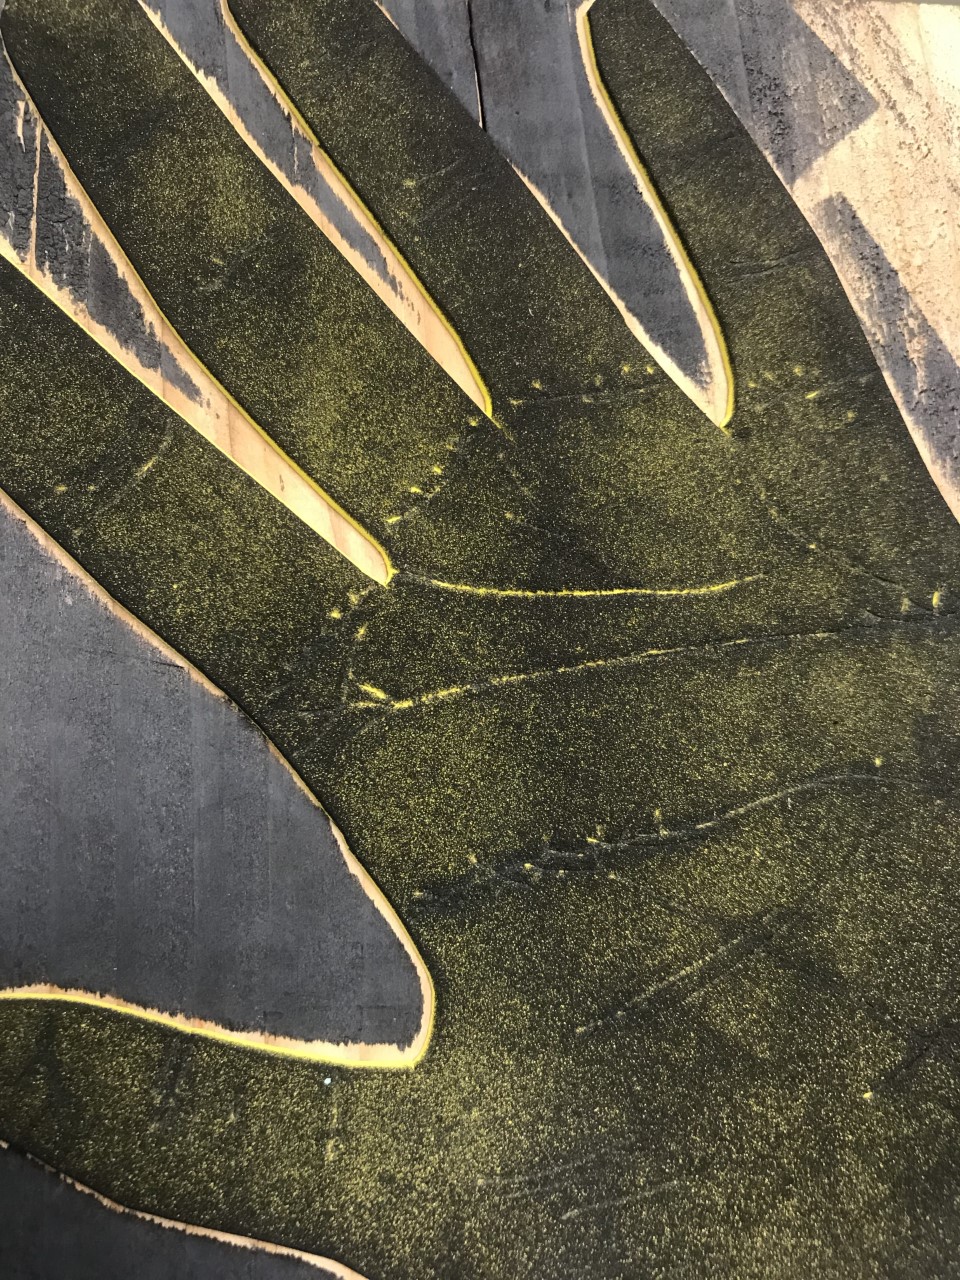
3. Look at the palm of the hand that was traced and notice all the lines. For younger kids, slow it down and do a practice drawing of the lines on the practice hand tracings. Eventually, students will use their own palm or their practice sketch to etch the lines into the foam surface of their collagraph plate.
4. Use black rubber stamp ink pads and dab ink onto the palm plate uniformly. Create multiple prints on thin white paper. Have students pick their best/favorite print to cut out and set aside for the next step.
Part Two- Background Texture Printing
2. Cut out the hand shape, peel the paper off the back, and adhere it to a rectangle piece of cardboard or chipboard that has been trimmed to size.
3. Look at the palm of the hand that was traced and notice all the lines. For younger kids, slow it down and do a practice drawing of the lines on the practice hand tracings. Eventually, students will use their own palm or their practice sketch to etch the lines into the foam surface of their collagraph plate.
4. Use black rubber stamp ink pads and dab ink onto the palm plate uniformly. Create multiple prints on thin white paper. Have students pick their best/favorite print to cut out and set aside for the next step.
Part Two- Background Texture Printing
1. Have students choose three "found" objects to print with and three acrylic paint colors. Paper towel tubes, wood blocks, bubble wrap, and sponges were used in our class. Discuss texture and demo some different ways to use each object you've provided.
2. Begin with experimentation on paper. Use acrylic paint and paintbrushes to apply the paint to the surface of the found objects. This will create a smoother application of paint than dipping and will keep the mess to a minimum. Let students play and share in order to find effects that they will want to use for their background. This part of the day should feel like a workshop!
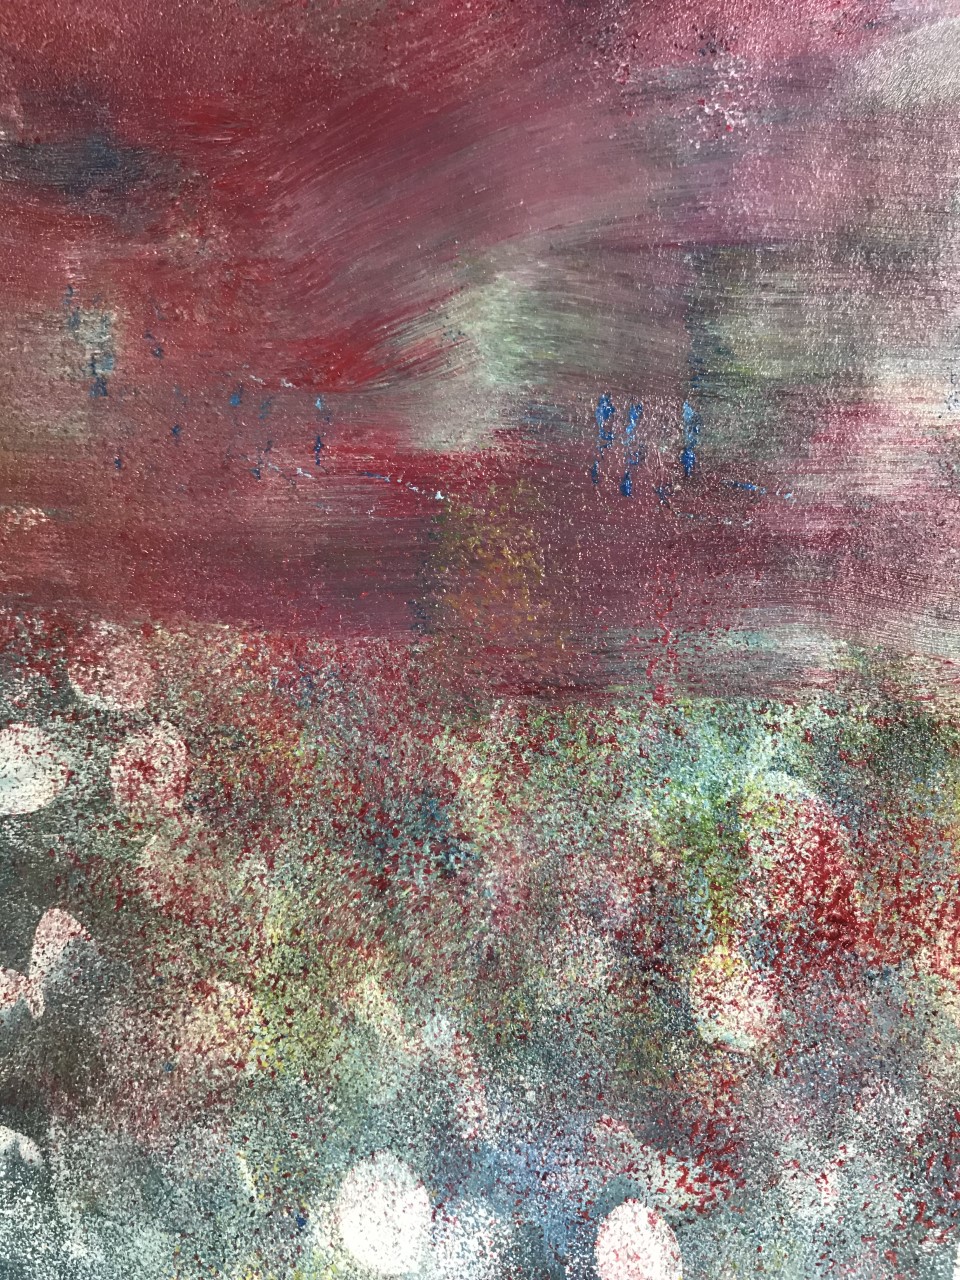
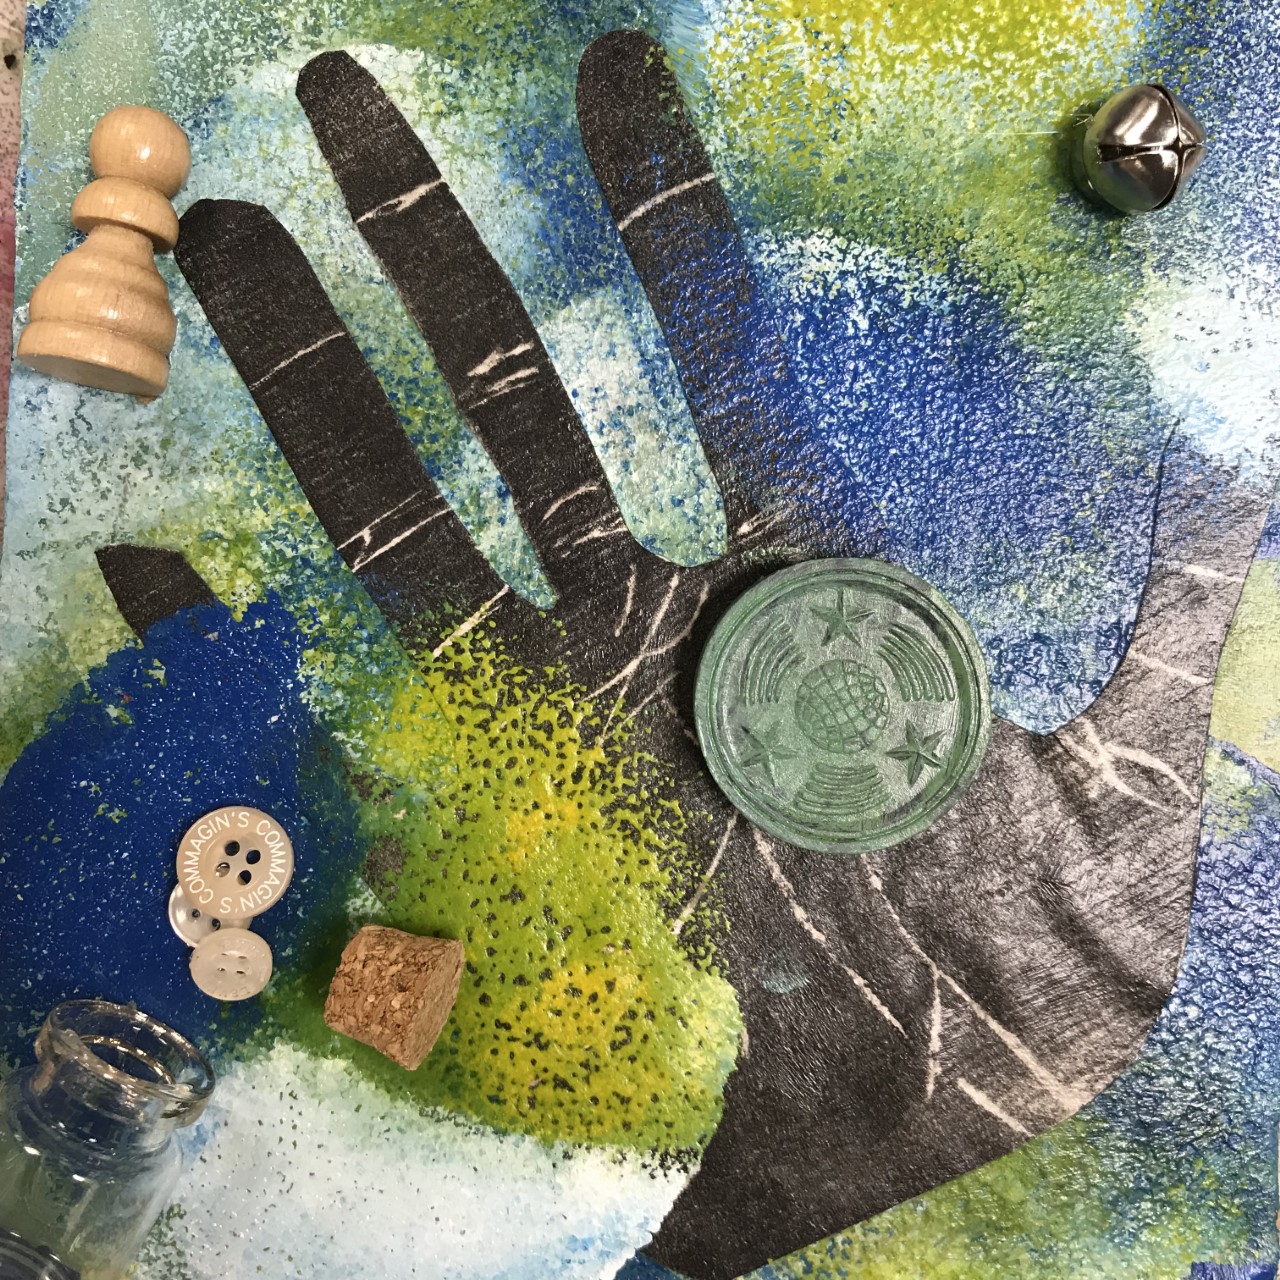
3. Once they have had time with the materials and feel ready to continue, give students their piece of cardboard or canvas so they can create the background using the methods they just learned. Encourage students to print versus paint and also encourage them to keep going so that their backgrounds are complex and multilayered with different types of texture (see photo).
Part Three- Construction and Assemblage
2. Begin with experimentation on paper. Use acrylic paint and paintbrushes to apply the paint to the surface of the found objects. This will create a smoother application of paint than dipping and will keep the mess to a minimum. Let students play and share in order to find effects that they will want to use for their background. This part of the day should feel like a workshop!
3. Once they have had time with the materials and feel ready to continue, give students their piece of cardboard or canvas so they can create the background using the methods they just learned. Encourage students to print versus paint and also encourage them to keep going so that their backgrounds are complex and multilayered with different types of texture (see photo).
Part Three- Construction and Assemblage
1. Glue the cut out palm print on the dried background surface and cover completely with mod podge. Set aside to dry.
2. Watch the Studio Tour with Betye Saar video listed below. Discuss what you learn about the artist and her practice and, in particular, her habit of "hunting and gathering" at thrift stores, garage sales, and antique shops.
3. Allow students to rummage through your collection of old "bits and baubles," hunting and gathering 3-7 objects to add to their artwork. This part was very enjoyable for our students! Don't rush it.
4. Adhere the found objects onto the artwork with hot glue.
5. As always, allow each student the opportunity to share their work and reflect on the process of learning and making.
Resources:
Studio Tour with Betye Saar, Los Angeles Times- The kids really enjoyed this short video and it gives you a real feel for Saar's assemblage practice and her light and grace, even when addressing issues of racism and hate.
https://www.youtube.com/watch?v=4jTZQzQwT_0&t=3s
MoMA biography and catalogue of work- This is a short summation of Saar's career, as well as a gallery of some of her works and a video produced about Black Girl's Window. We looked at the artwork itself but didn't watch the video due to some of the content but it's a great watch for the educator carrying out the lesson.
https://www.moma.org/artists/5102#works